When building a WatchKit app, you’ll likely encounter this error at some point:
error: The value of CFBundleVersion in your WatchKit app’s Info.plist (1) does not match the value in your companion app’s Info.plist (2). These values are required to match.
Easy, right? We just make sure the values match. But… what if we’re using dynamically generated bundle version numbers derived from, say, the number of commits in your git repository? Well, we just go to the WatchKit app’s target in Xcode, click the “Build Phases” tab and… oh. There isn’t one.
So, if we’re required to have our WatchKit app mirror the CFBundleVersion of our source app and we’re generating that CFBundleVersion at build time, what do we do? First, we wonder why this mirroring isn’t automatic. Second, we try to modify the WatchKit app’s Info.plist file from another target before realising that it screws with its code signature. Third, we come up with this horrible workaround!
The Horrible Workaround
The workaround is to generate a header containing definitions for your version numbers, then use Info.plist preprocessing to get them into your WatchKit app’s Info.plist file.
This little tutorial assumes you already have an Xcode project with a set up and working WatchKit app.
Step 1
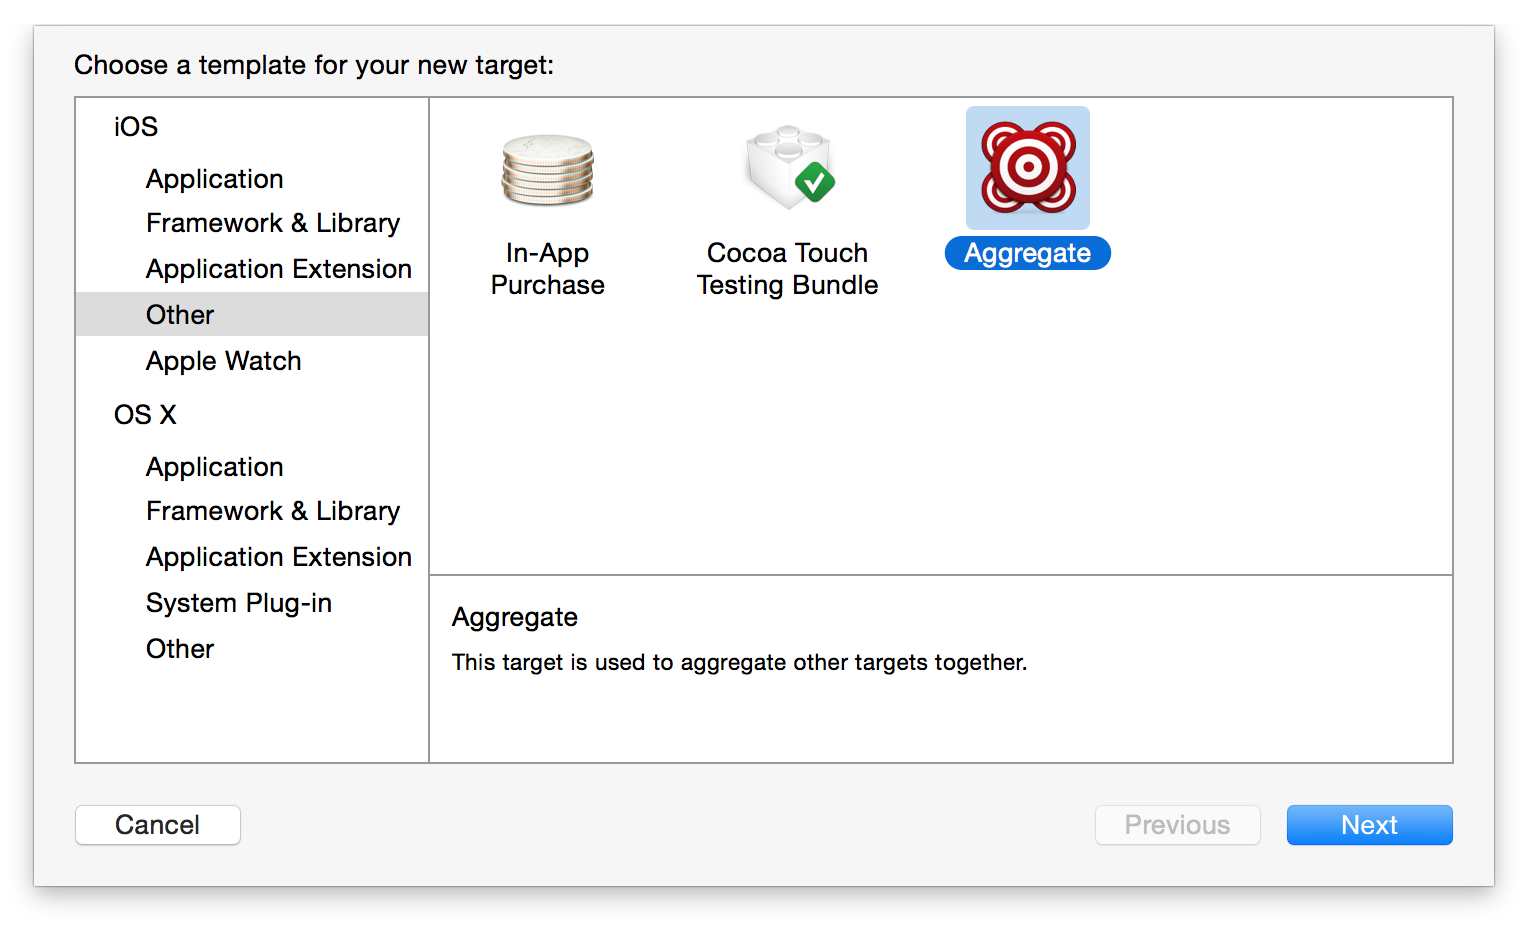
Make a new build target, selecting the “Aggregate” target type under “Other”.
Step 2
In that new target, create a shell script phase to generate a header file in a sensible place that contains C-style #define statements to define the version(s) as you see fit.
My example here generates two version numbers (a build number based on the number of commits in your git repo, and a “verbose” version that gives a longer description) then places the header into the build directory.
GIT_RELEASE_VERSION=$(git describe --tags --always --dirty --long)
COMMITS=$(git rev-list HEAD | wc -l)
COMMITS=$(($COMMITS))

mkdir -p "$BUILT_PRODUCTS_DIR/include"

echo "#define CBL_VERBOSE_VERSION ${GIT_RELEASE_VERSION#*v}" > "$BUILT_PRODUCTS_DIR/include/CBLVersions.h"
echo "#define CBL_BUNDLE_VERSION ${COMMITS}" >> "$BUILT_PRODUCTS_DIR/include/CBLVersions.h"

echo "Written to $BUILT_PRODUCTS_DIR/include/CBLVersions.h"
The file output by this script looks like this:
#define CBL_VERBOSE_VERSION a6f5bd0-dirty
#define CBL_BUNDLE_VERSION 1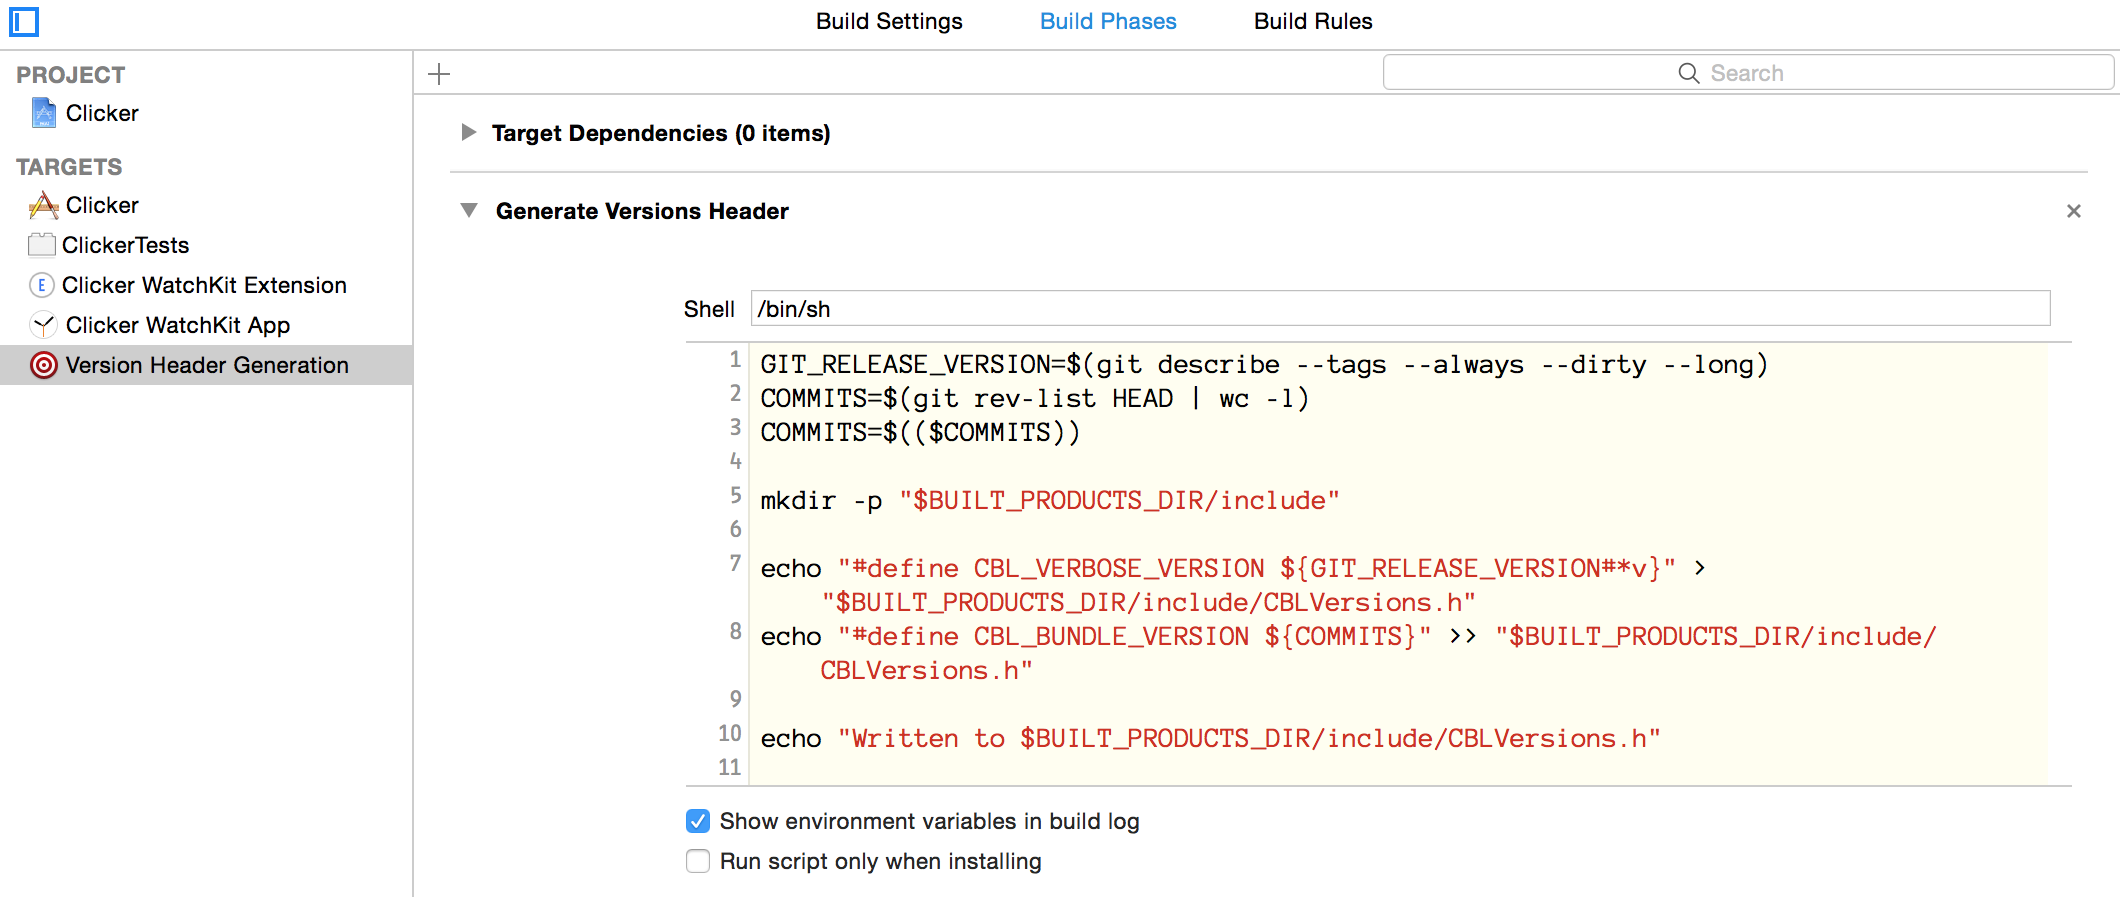
Step 3
Make your other targets depend on your new aggregate target by adding it to the “Target Dependencies” item in the target’s “Build Phases” tab. You can add it to all the targets that you’ll use the version numbers in, but you’ll certainly need to add it to your WatchKit Extension target.

Step 4
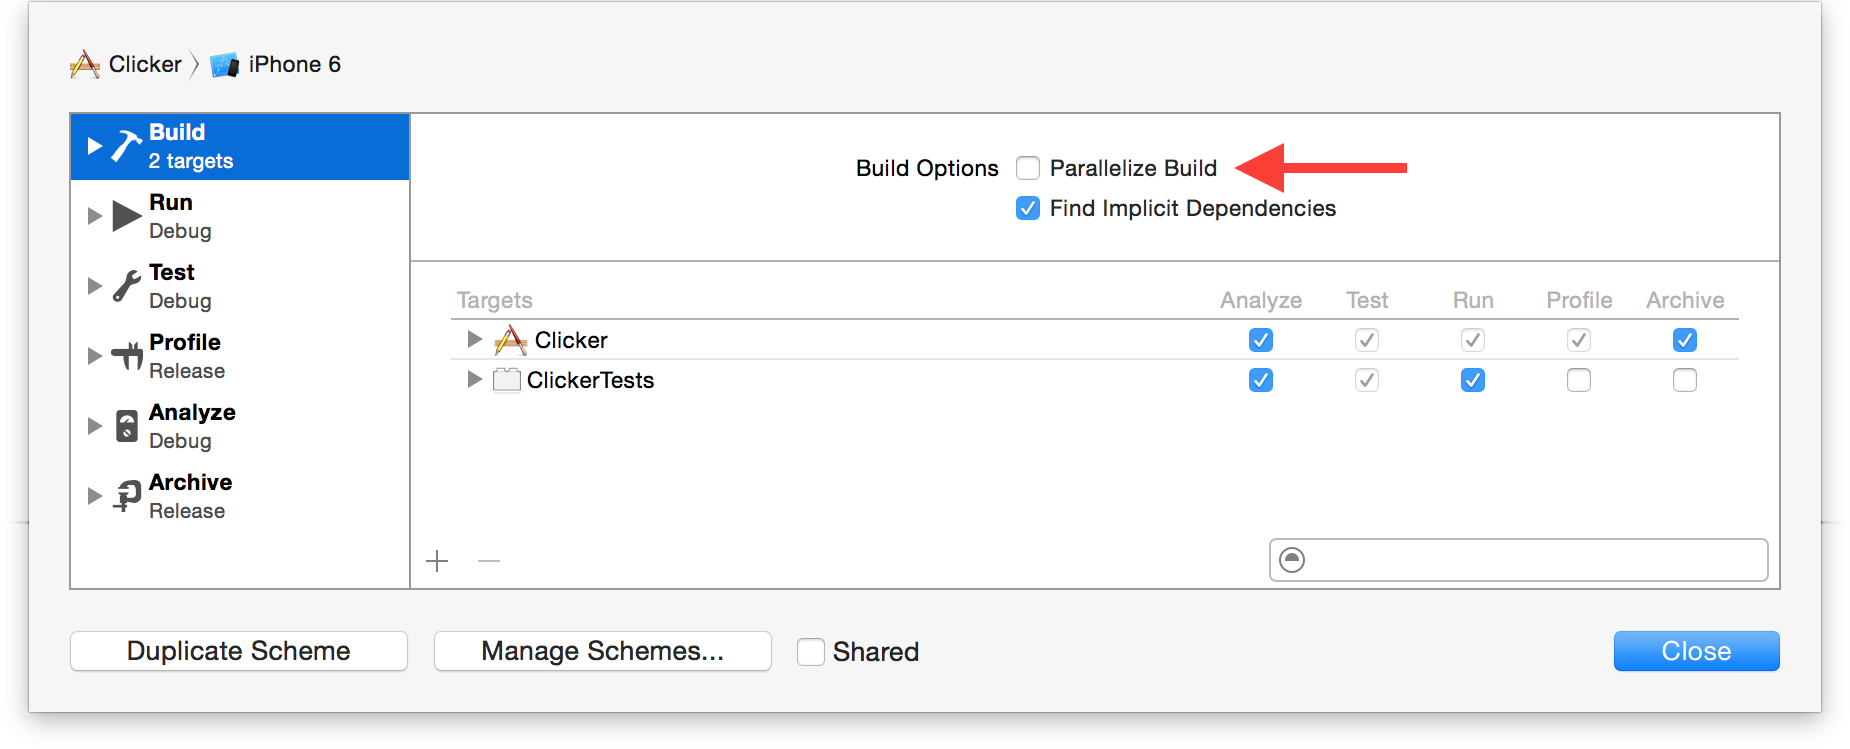
Xcode tries to be smart and will build your target’s dependencies in parallel by default. However, this will mean that your WatchKit app will be built at the same time as the header is being generated but aggregate target, which will often result in build failures due to the header not being available in time.
To fix this, edit your target’s scheme and uncheck the “Parallelize Build” box in the “Build” section. This will force Xcode to wait until the header file has been generated before moving on.
Step 5
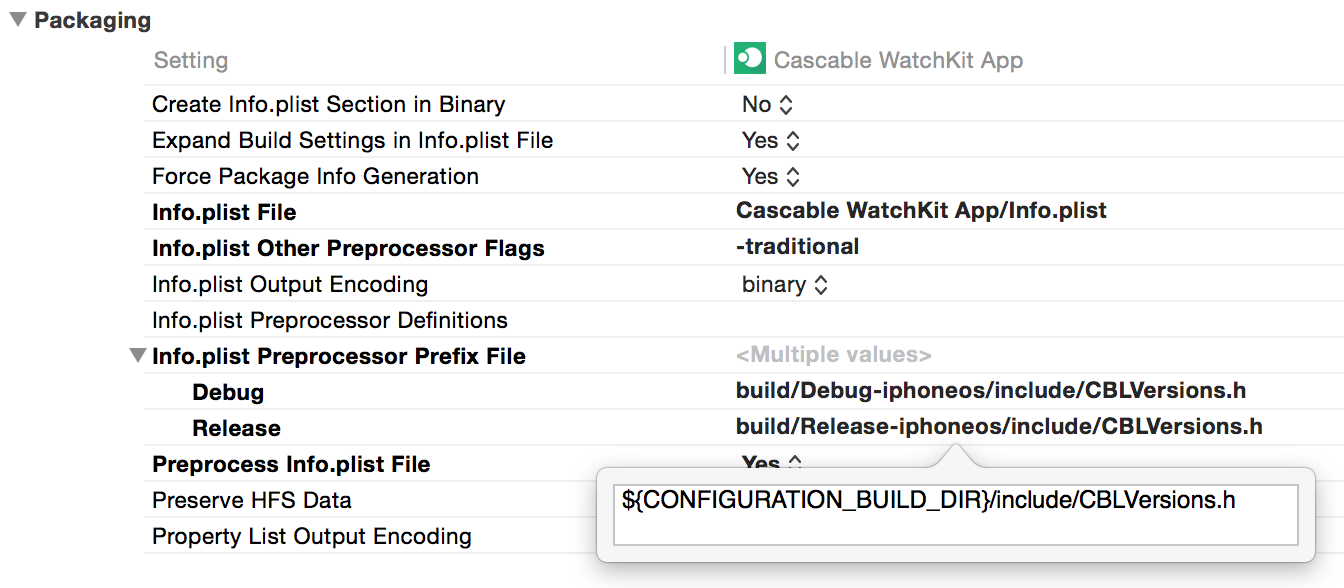
Edit the build settings in your targets as follows:
-
Preprocess Info.plist Fileshould be set toYes. -
Info.plist Other Preprocessor Flagsshould be set to-traditional. -
Info.plist Preprocessor Prefix Fileshould be set to wherever your generated header file has been placed. In my case, it’s${CONFIGURATION_BUILD_DIR}/include/CBLVersions.h.
Step 6
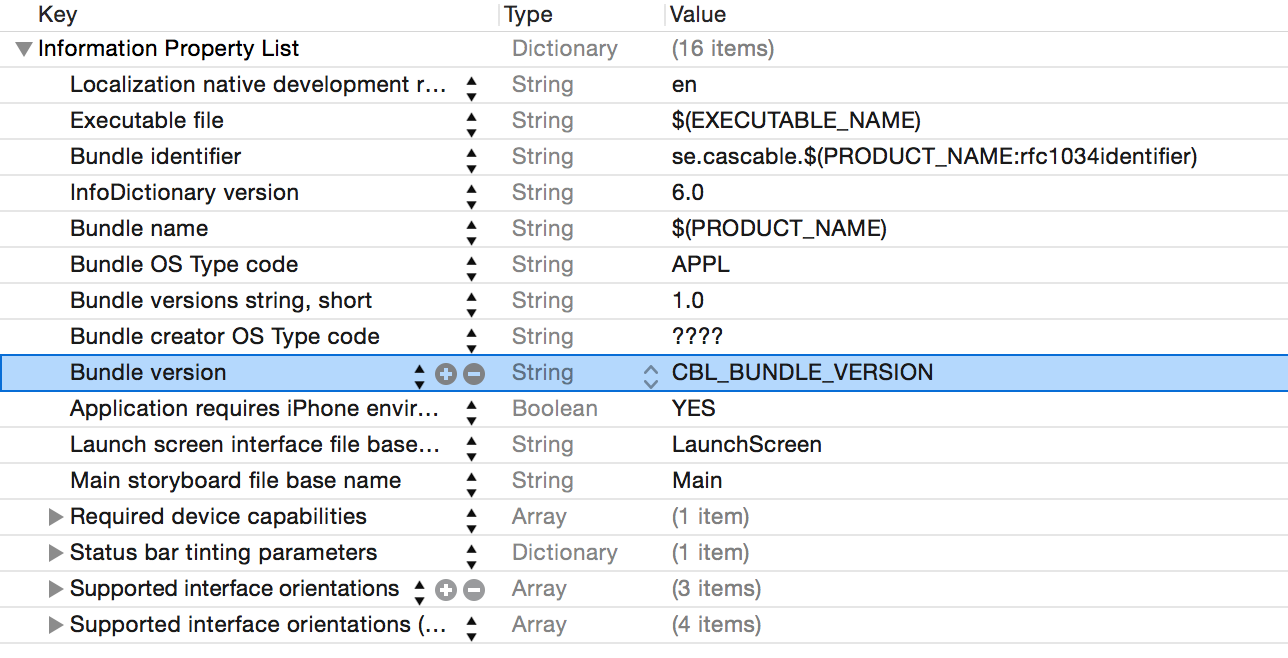
Finally, change the values in your Info.plist files to match the keys in your generated header file. In my case, I set CFBundleVersion (also known as Bundle Version or Build depending on where you’re looking in Xcode) to CBL_BUNDLE_VERSION.
Step 7
Go to the Apple Bug Reporter and ask (nicely) they give us build phases back for WatchKit apps. You can dupe mine (Radar #20782873) if you like.
Step 8
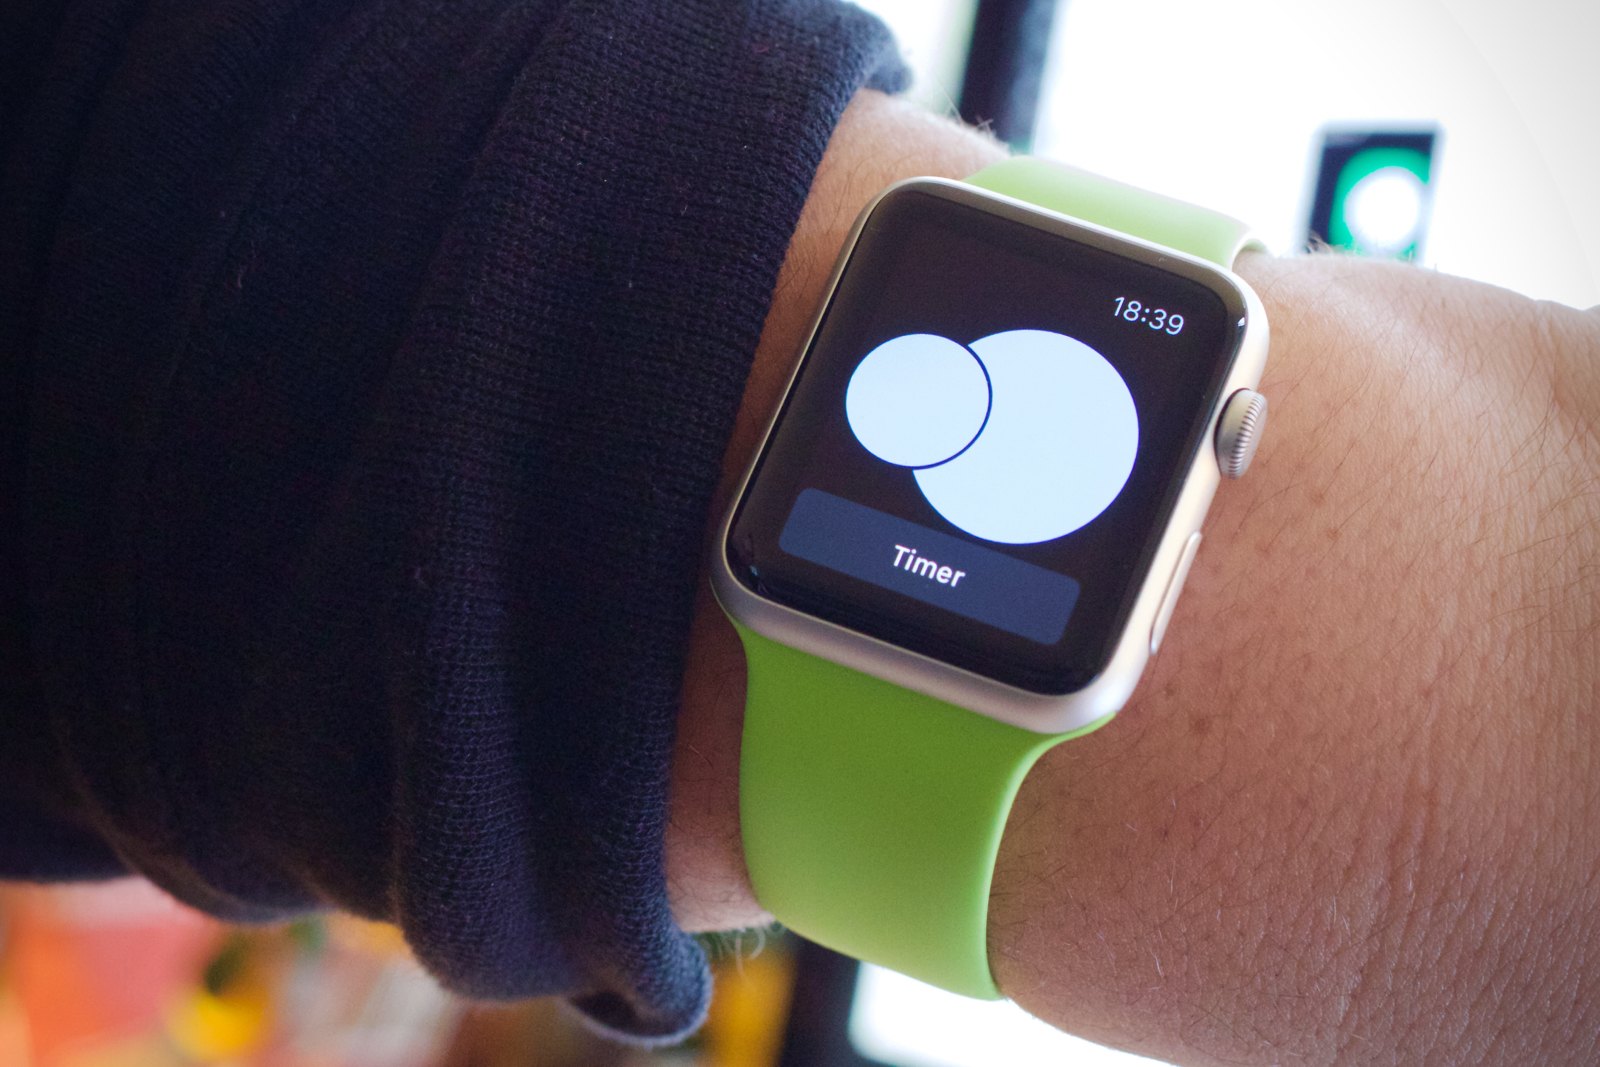
Success!
Conclusion
This is horrible. We need to disable parallel builds and generate intermediate headers and all sorts of nastiness. Hopefully we’ll get build phases back for WatchKit apps soon!
You can download a project that implements this tutorial here.