Why I need a designer: Exhibit A.
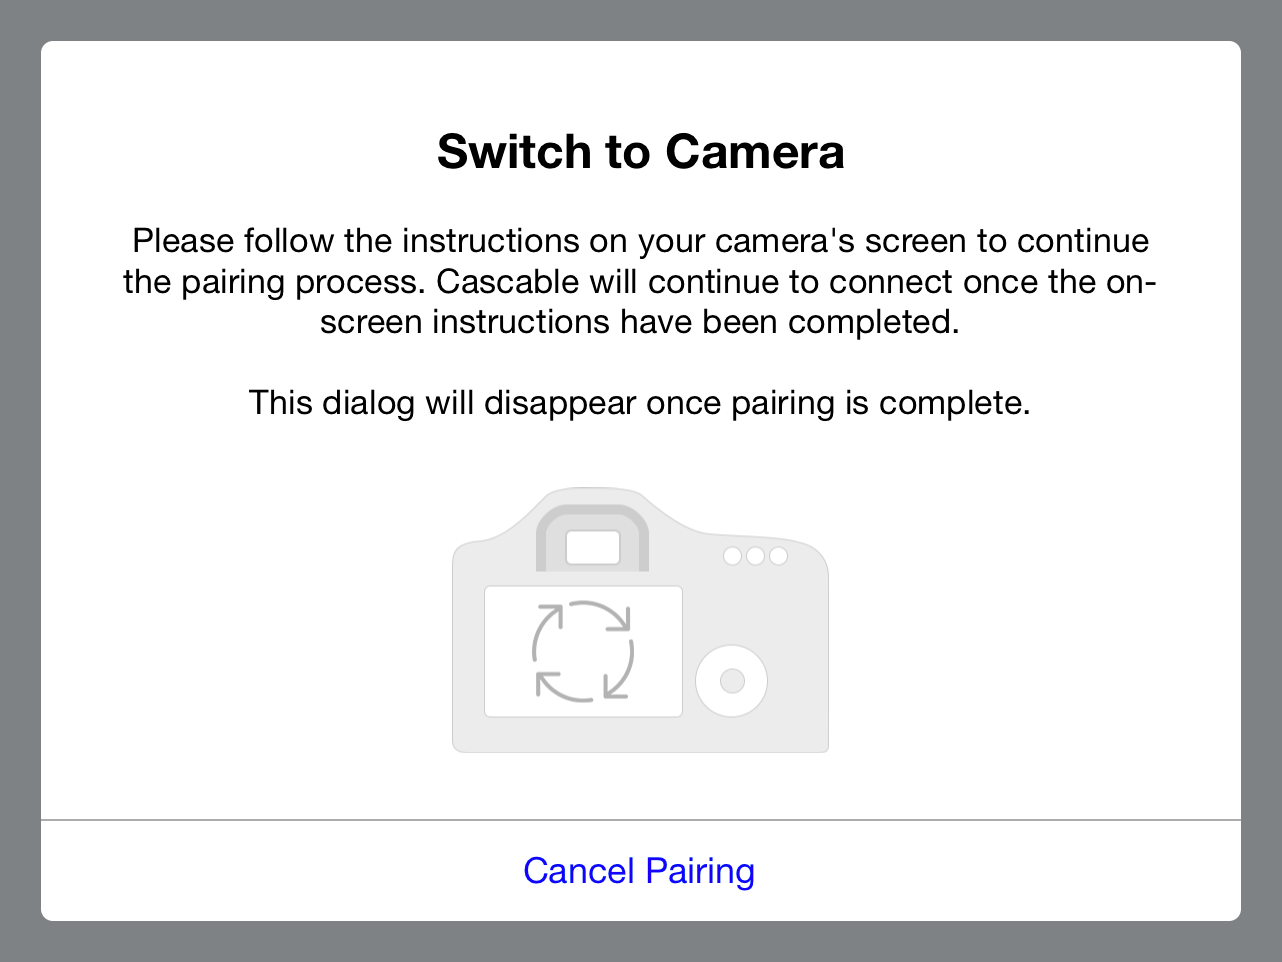
THIS BUTTON.
This innocuous little button cost me a week. Let that settle in. A week.
It’s a simple enough premise — when the user gets presented a dialog like this, you should give them a way out. Presenting a button-less dialog is all kinds of scary — what if the camera crashes and doesn’t give the expected response, or any response at all? Sure, I can guard against that, but still.
So, it’s settled! I’ll implement a Cancel button so the user can back out of pairing with their camera. What a completely logical and easy thing to do.
PROGRAMMING!
Here’s the problem I faced:
Typically, when you connect to a camera you send it a message to initialise a session, then wait for a success response. This normally takes a small number of milliseconds, but when the camera is in pairing mode it won’t respond at all until the user has gone through a few steps on the camera’s screen.
All we need to do is sever the connection to the camera while we’re waiting, right? Easy enough. However, the architecture of my application has it working with the camera in a synchronous manner, writing a message then blocking until a response is received. All this is happening on a background thread so it doesn’t interfere with the UI, and since the camera has a strict request-response pattern, it works well enough. However, in this case, I can’t sever the connection on the camera’s thread because it’s completely blocked waiting for a response. If I try to do this from a separate thread, I end up with all sorts of nasty state — dangling sockets and leaked objects.
The solution to this sounds simple — instead of doing blocking reads, I should schedule my sockets in a runloop and use event-based processing to react when responses are received. That way, nothing will ever be blocked and I can sever the connection cleanly at any point without leaving dangling sockets around.
Easy!
Seven hours later I’m sitting at my desk with my head in my hands, wishing I’d never bothered. It’s 11pm, and later my wife tells me she’d approached me to come play video games but decided I looked so grumpy I’d be best left alone. I have no idea why it’s not working. I’m sending the exact same bytes as I was before, and getting the same responses. It actually works fine until traffic picks up — as soon as you start to send a lot of messages, random ones never get a response.
Well after midnight, I throw in the towel. I’d been working at this one “little” problem nonstop for eight hours, my code was a huge mess and I almost threw away the lot.
“I’m such an idiot,” I told my wife as I got into bed, “I even wrote about this on my blog, using the exact code I’m working on as an example”.
Yup, this is that old but reliable code I wrote about a couple of months ago. The class I said I’d love to refactor but shouldn’t because it worked fine.
One way of proving a hypothesis, I suppose.
As I was drifting off to sleep, I had an idea. I decided it could wait until the morning.
I slumped down into my chair the next morning and remembered my idea. Twenty minutes later, it was working like a charm1.
Sigh.
So, now it’s working and a darn sight better looking than my old code. However, the two years’ worth of confidence and proven reliability that I had with the old code has vanished — it seems to work, yes, but how can I be sure? Maybe there’s bugs in there that haven’t shown themselves yet.
If You Don’t Have Experience, You Need Data
I’ve been writing unit tests here and there for parts of my app where it makes sense.
“Business logic” code for the app is simple enough to test — instantiate instances of the relevant classes and go to town:
CBLShutterSpeed *speed = [[CBLShutterSpeed alloc] initWithStopsFromASecond:0.0];
XCTAssert(speed.upperFractionalValue == 1, @"Failed!");
XCTAssert(speed.lowerFractionalValue == 1, @"Failed!");

CBLShutterSpeed *newSpeed = [speed shutterSpeedByAddingStops:-1];
XCTAssert(newSpeed.upperFractionalValue == 1, @"Failed!");
XCTAssert(newSpeed.lowerFractionalValue == 2, @"Failed!");
Parsing data given back to us by the camera into objects is a little bit more involved, but not much. To achieve this, I save the data packets to disk, embed them in the test bundle and load them at test time. Since we’re testing the parsing code and not that the camera gives back correct information, I think this is an acceptable approach.
-(void)test70DLiveViewAFRectParsing {
    NSData *rectData = [NSData dataWithContentsOfFile:[self pathForTestResource:[@"70D-LiveViewAFRects-1.1.1.dat"]];
    XCTAssertNotNil(rectData, @"afRect data is nil - possible integrity problem with test bundle");

    NSArray *afAreas = [DKEOSCameraLiveViewAFArea liveViewAFAreasWithPayload:rectData];
    XCTAssertNotNil(afAreas, @"afRects parsing failed");

    XCTAssertEqual(31, afAreas.count, @"Should have 31 AF areas, got %@", @(afAreas.count));

    for (DKEOSCameraLiveViewAFArea *area in afAreas) {
        XCTAssertTrue(area.active, @"Area should be active");
        XCTAssertFalse(area.focused, @"Area should not be focused");
    }
}
Alright, so, how do we go about testing my newly refactored code? It poses a little bit of a unique problem, in that my work with this camera is entirely based on clean-room reverse engineering — I don’t have access to any source code or documentation on how this thing is supposed to work. This means that I can’t compile the camera’s code for another platform (say, Mac OS) and host it locally. Additionally, the thing I’m testing isn’t “state” per se — I want to test that the transport itself is stable and reliable, that my messages get to the camera and its responses get back to me.
This leads to a single conclusion: To test my new code, I need to involve a physical, real-life camera.
Oh, boy.
Unit testing best practices dictate that:
- State isn’t transferred between individual tests.
- Tests can execute in any order.
- Each test should only test one thing.
The tests I ended up writing fail all of these practices. Really, they should all be squished into one test, but a single test that’s 350 lines long is a bit ungainly. So, we abuse XCTest to execute the tests in order.
First, we test that we can discover a camera on the network:
-(void)test_001_cameraDiscovery {
    XCTestExpectation *foundCamera = [self expectationWithDescription:@"found camera"];

    void (^observer)(NSArray *) = ^(NSArray *cameras) {
        XCTAssertTrue(cameras.count > 0);
        _camera = cameras.firstObject;
        [foundCamera fulfill];
    };

    [[DKEOSCameraDiscovery sharedInstance] addDevicesChangedObserver:observer];

    [self waitForExpectationsWithTimeout:30.0 handler:^(NSError *error) {
        [[DKEOSCameraDiscovery sharedInstance] removeDevicesChangedObserver:observer];
    }];
}
…then, we make sure we can connect to the found camera:
-(void)test_002_cameraConnect {
    XCTAssertNotNil(self.camera, @"Need a camera to connect to");
    XCTestExpectation *connectedToCamera = [self expectationWithDescription:@"connected to camera"];

    [self.camera connectToDevice:^(NSError *error) {
        XCTAssertNil(error, @"Error when connecting to camera: %@", error);
        [connectedToCamera fulfill];
    } userInterventionCallback:^(BOOL shouldDisplayUserInterventionDialog, dispatch_block_t cancelConnectionBlock) {
        XCTAssertTrue(false, @"Can't test a camera in pairing mode");
    }];

    [self waitForExpectationsWithTimeout:30.0 handler:nil];
}
(I’m a particular fan of that XCTAssertTrue(false, … line in there.)
Next, because we’re talking to a real-life camera, we need to make sure its physical properties (i.e., ones we can’t change in software) are correct for testing:
-(void)test_003_cameraState {
    XCTAssertNotNil(self.camera, @"Need a camera to connect to");
    XCTAssertTrue(self.camera.connected, @"Camera should be connected");

    XCTAssertEqual([[self.camera valueForProperty:EOSPropertyCodeAutoExposureMode] intValue], EOSAEModeManual,
                   @"Camera should be in manual mode for testing.");

    XCTAssertEqual([[self.camera valueForProperty:EOSPropertyCodeLensStatus] intValue], EOSLensStatusLensAvailable,
                   @"Camera should have an attached lens for testing");

    DKEOSFileStorage *storage = self.camera.storageDevices.firstObject;
    XCTAssertTrue(storage.capacity > 0, @"Camera should have an SD card inserted for testing.");
    XCTAssertTrue(storage.availableSpace > 100 * 1024 * 1024, @"Camera storage should have at least 100Mb available for testing.");
}
Once the camera is connected and verified to be in an agreeable state, we can start testing.
-
In order to test against the case of large amounts of traffic causing dropouts that drove me to insanity that night, I run through every single valid value for all of the exposure settings (ISO, aperture, shutter speed) as fast as I possibly can.
-
To test event processing works correctly, I test that streaming images from the camera’s viewfinder works.
-
To test filesystem access, I iterate through the camera’s filesystem.
-
To test commands, I take a photo.
-
To test that large transfers work, I download the photo the previous test took - about 25Mb on this particular camera.
-
And finally, I test that disconnecting from the camera works cleanly.
As you can see, this is a pretty comprehensive set of tests — each one is meticulous about ensuring the responses are correct, that the sizes of the data packets received match the sizes reported by the camera, etc — they’re essentially an automated smoke test.
The next challenge is to get these to run without human intervention. I can’t just leave the camera on all the time — if it doesn’t receive a network connection within a minute or two of powering on it’ll error out and you need to restart the Wifi stack to connect again — something not possible without human intervention. Perhaps a software-controlled power switch would allow the tests to power on and off the camera at will. However, that’s a challenge for another day.
I TOLD YOU SO, DAMNIT
So. In an earlier post I talked about being restrained when you think about refactoring code, and my ordeal here is exactly why. At the beginning it looked simple enough to do, but I ended up losing way too much time and way too much sleep over it, and when it finally appeared to work I had no data on whether it was any good or not. If I’d gone through all of that with no good reason it would’ve been a complete waste of time and energy.
But! Thanks to all this work, you can now cancel out of camera pairing from your iOS device! It’s a disproportional amount of work for a single button, but that’s the way software development goes sometimes — no matter how obvious the next task might look, tomorrow’s just a mystery, and that’s okay. It’s what makes it fun!
Plus, I now have a decent set of smoke tests for communicating with a real-life camera, which is something I’ve been wanting for a long time — a nice little silver lining!
Epilogue
After implementing all this, I decided to have a look at how the camera’s official software approached this problem, UI-wise.
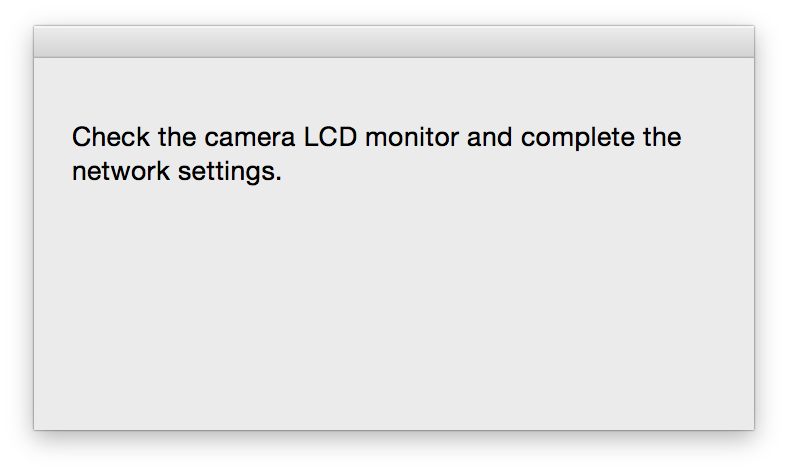
It looks like a floating panel, but it behaves like a modal dialog. There’s no way to cancel from the application at all and if you force quit it, the software ends up in a state where it thinks it isn’t paired and the camera thinks it is paired, and the two will flat-out not talk to one another.
The mobile app can’t possibly be this bad, I thought, and went to experiment. There’s no screenshot here because there is no UI in the iOS app to help with pairing at all — it just says “Connecting…” like normal and you need to figure out that you need to look at the camera on your own.
It’s like they don’t even care.
Next time on Secret Diary of a Side Project, we’ll talk about how to make the transition to working full-time on your side project at home in a healthy way, both mentally and physically.
-
The problem, if you’re interested, is that the camera throws away any messages received while it’s processing a prior message. This was accidentally worked around in my old code by blocking while waiting for a response. The solution was to maintain a message queue and disallow a message to be sent until a response to the previous one has been received. ↩