When you live on your own, computing on the dining room table isn’t really a problem. Especially if you’re a geek AND a student. When you have mates round, you just eat pizza on the sofa.
However, what if a female type ends up in this abode? You can’t eat pizza on the sofa… they want class. They want dazzling dinner table conversation over a meal and light wine. The table must be rescued! Not a problem really, but then the computer is on the floor. We must build a desk. A desk fit for the Gods!
Ok, so why can’t I just buy a flat-pack desk and build it? Simple - I’ve recently become the sole dweller of this house. I must assert my power over it by building stuff!
Two days later, and we have a plan (sizes in millimetres):
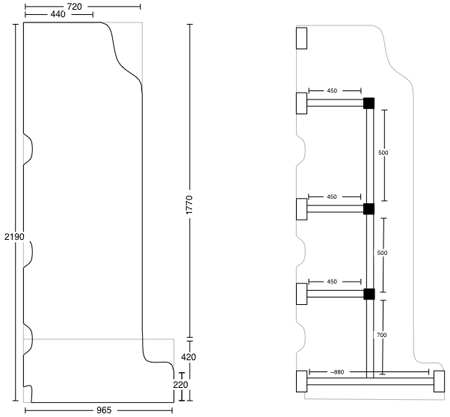
Let me explain the plan… The left diagram is of the top surface of the desk - the cut-outs down the left edge are for cables to go down, and the bottom one also makes room for the hot water pipes that go up the wall. The right diagram is of the frame that will support it. Little white rectangles are the supporting mounts that attach to the wall. Thin white rectangles are the supporting struts that run from the wall mounts to the legs and keep everything stable. Black squares are legs.
Let construction begin!
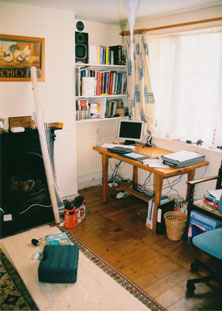
Before construction begins
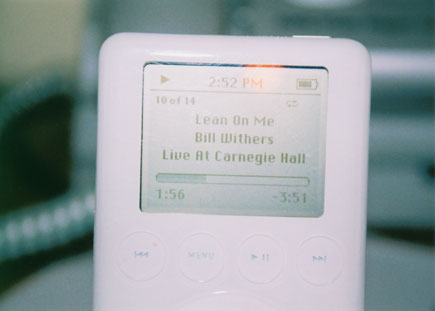
Tunes while I work!
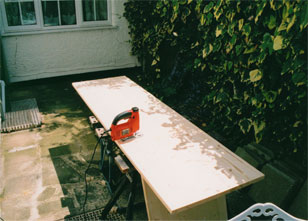
I broke 3 saws (not blades, saws!) cutting this wood
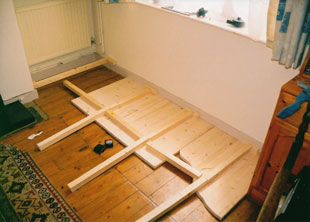
Getting there!
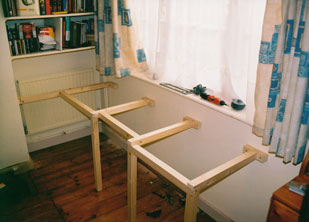
The frame in place
Wait a minute… this is wrong. It’s going well! Which is good. However, it’s just a boring desk made of wood. We need geeky/cool things in it!
Hmmm… it’d be cool if I could have surface-mounted plug sockets for charging my phone and laptop and stuff. Oooh, and lights would be nice, to backlight the desk a bit for better light. Although, I would have to carve the cavities for these fairly carefully to match the mounts they have. Hmmm, my powersaw is a bit too much for that. Ah well.
Oh look, a chisel!
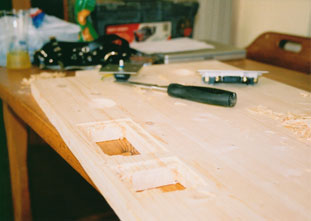
And we begin…
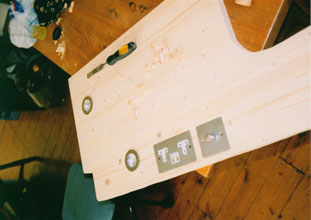
… four hours later, they fit!
Woohoo! Lights! With a dimmer switch! So cool, it requires italics. Dimmer switch. See? For the wiring, I simply wired 3-core flexes into the sockets and dimmer switch and put a standard plug on the other end so they just plug into the wall, all earthed and safe.
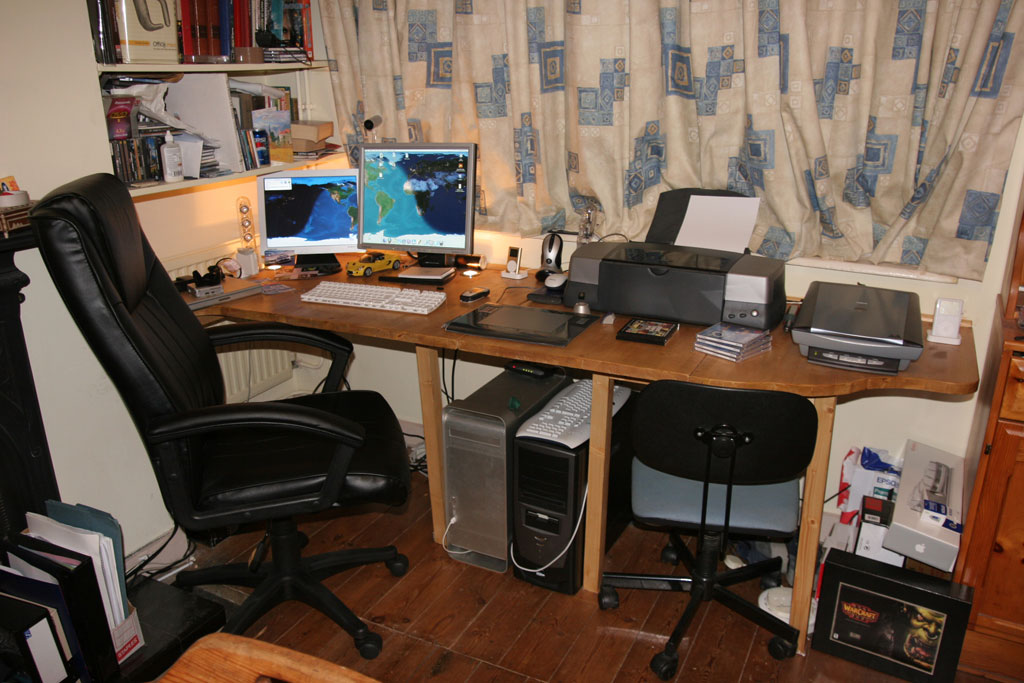
So, now we have it all done but in pieces. Assemble them all together and varnish them, and we get this!
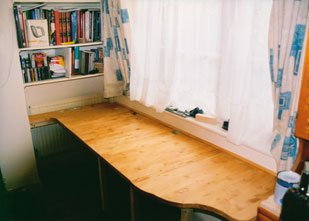
It matches the furniture!
Completed! It’s strong and sturdy - it can hold the weight of all my computer stuff and me standing on it. It matches the furniture. It’s varnished with floor varnish, so it’s good and tough.
Best thing is, the table is free! Let the dazzling dinner conversation begin… the ladies won’t be able to resist!
Ok, lets see a damage report:
Cost
Materials: £60
Tools: £50
Switches, wires, etc: £40
Total: £150
Time taken: Three days
Day 1: Building
Day 2: Assembly and 1st varnish coat
Day 3: Final varnish coats
… and now for the final picture. Click it for a bigger photo!